Entering the field of wildlife photography presents a unique blend of technical challenge and artistic pursuit. Success hinges on more than just owning a camera; it requires a strategic approach to gear selection, an understanding of animal behavior, and a disciplined workflow. This guide focuses on actionable insights for capturing compelling wildlife imagery, emphasizing practical decisions that impact image quality and field efficiency. The aim is to equip photographers with the knowledge to consistently produce high-caliber work, whether for personal projects, stock submissions, or fine art prints.
Essential Gear Considerations for Wildlife Photography
Effective wildlife photography begins with a deliberate selection of equipment, balancing capability with portability and budget. Each component plays a critical role in securing sharp, well-exposed images of often elusive subjects.
Camera Body Selection
The choice of camera body significantly influences performance in dynamic wildlife scenarios. Look for models offering robust autofocus systems, particularly those with advanced tracking capabilities and subject recognition (e.g., animal eye AF). High frame rates (10-20 frames per second or more) are crucial for capturing fleeting moments, while good high-ISO performance ensures usable images in low light conditions, such as dawn or dusk. Weather sealing is also a non-negotiable feature, protecting your investment from dust, moisture, and inclement weather encountered in the field.
Best for: Capturing fast action and working in varied light conditions.
Lens Choices for Reach and Aperture
Telephoto lenses are fundamental for wildlife photography, allowing photographers to maintain a respectful distance while still filling the frame. Prime telephoto lenses (e.g., 300mm f/2.8, 400mm f/4, 500mm f/4, 600mm f/4) offer superior image quality, wider maximum apertures for low light, and faster autofocus. However, their cost and weight can be prohibitive. Zoom telephoto lenses (e.g., 100-400mm, 150-600mm) provide greater versatility and are often more accessible. When evaluating lenses, consider:
- Focal Length: Longer is generally better for distant subjects.
- Maximum Aperture: Wider apertures (smaller f-numbers) improve low-light performance and create pleasing background blur.
- Image Stabilization: Essential for sharp handheld shots, especially with longer focal lengths.
- Minimum Focusing Distance: Allows for closer focus on smaller subjects.
Teleconverters (1.4x or 2x) can extend the reach of existing lenses, though they typically reduce the effective aperture and can impact image quality and autofocus speed.
Tripods and Support Systems
A sturdy tripod is indispensable for sharp images, especially when using heavy telephoto lenses or shooting in low light at slower shutter speeds. Carbon fiber tripods offer an excellent balance of stability and portability. Pair the tripod with a robust head designed for long lenses, such as a gimbal head for fluid movement and balance, or a heavy-duty ball head for precision. Beanbags are also invaluable for shooting from vehicles or low angles, providing quick, stable support without the bulk of a tripod.
Mastering Field Techniques
Beyond gear, successful wildlife photography relies heavily on fieldcraft and an understanding of photographic principles applied to dynamic subjects.
Understanding Animal Behavior
Knowledge of your subject’s behavior, habitat, and daily routines is paramount. Research species-specific patterns: when they feed, where they rest, their mating rituals, and their natural responses to human presence. Approaching animals slowly, silently, and downwind minimizes disturbance. Patience is key; often, the best shots come after extended periods of observation and waiting for natural, unposed moments.
Light Management and Composition
Optimal light transforms an ordinary scene into an extraordinary photograph. The "golden hours" – shortly after sunrise and before sunset – offer soft, warm light that enhances textures and colors. Backlighting can create dramatic rim light effects, while side lighting emphasizes dimension. For composition, apply principles like the rule of thirds, leading lines, and negative space. Crucially, aim for clean backgrounds that don't distract from the subject. Getting low to eye level with the animal creates a more intimate and engaging perspective.
Camera Settings for Dynamic Subjects
Configuring your camera for fast-moving, unpredictable subjects is critical:
- Shooting Mode: Aperture Priority (Av/A) for controlling depth of field, or Manual (M) for full control over exposure in consistent light. Shutter Priority (Tv/S) is useful for guaranteeing a minimum shutter speed.
- Autofocus Mode: Continuous AF (AI Servo/AF-C) is essential for tracking moving subjects. Use a flexible spot or zone AF mode to precisely target the animal’s eye.
- Shutter Speed: Prioritize fast shutter speeds (e.g., 1/1000s or faster for birds in flight, 1/500s for static animals) to freeze motion and prevent blur.
- ISO: Adjust as needed to achieve required shutter speed and aperture, accepting higher ISOs for sharp images over noise-free but blurry ones.
- Drive Mode: High-speed continuous shooting maximizes your chances of capturing the peak action.
Pro Tip: Always shoot in RAW format. RAW files retain significantly more image data than JPEGs, offering greater flexibility during post-processing for exposure adjustments, white balance correction, and recovering highlight/shadow detail without introducing artifacts. This is particularly valuable in challenging lighting conditions common in wildlife photography.
Post-Processing Workflow
The journey from capture to final image includes a crucial post-processing phase, refining your raw material into impactful photographs.
Culling and Organization
Efficiently manage your images by culling ruthlessly. Delete out-of-focus, poorly composed, or redundant shots immediately. Use a consistent folder structure and keyword system to organize your keepers. This saves significant time in the long run, especially with large volumes of images.
Editing for Impact
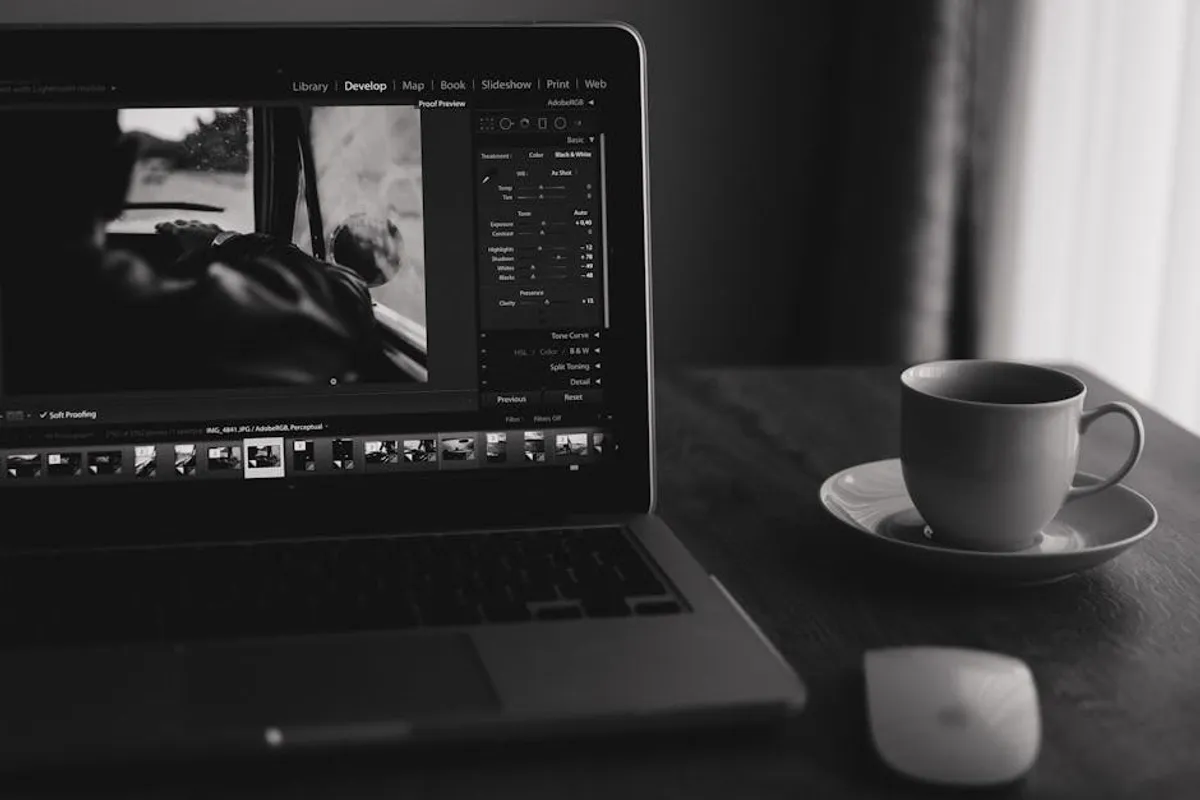
Post-processing software allows for enhancements that bring out the best in your wildlife shots. Adjust exposure, contrast, white balance, and sharpness. Carefully manage noise reduction, especially in high-ISO images. Cropping can improve composition, but avoid excessive cropping that degrades image quality. The goal is to enhance the natural beauty of the scene, not to create an artificial representation.
Ethical Considerations in Wildlife Photography
Respect for wildlife and their environment must always take precedence over the desire for a photograph. Maintain a safe and respectful distance, never disturb or bait animals, and avoid damaging their habitat. Understand and adhere to local regulations and park rules. Ethical photography ensures the well-being of the subjects and preserves the integrity of the natural world for future generations.
Implementing Your Wildlife Photography Strategy
Successful wildlife photography is an iterative process of learning, practicing, and refining. Start by mastering your equipment in controlled environments, then gradually introduce yourself to field conditions. Focus on one or two species to deeply understand their behavior before expanding. Review your work critically, identifying areas for improvement in both technical execution and creative vision. Join local photography groups or workshops to gain insights and share experiences. Consistent effort and a commitment to ethical practices will yield increasingly rewarding results and a deeper connection to the natural world you aim to capture.
Frequently Asked Questions
What is the most important piece of gear for wildlife photography?
While a good camera body is important, a high-quality telephoto lens is arguably the most critical component. It provides the necessary reach to capture distant subjects without disturbing them and significantly impacts image sharpness and background separation.
How can I get closer to wildlife without scaring them?
Patience and stealth are key. Learn about the animal's habits, approach slowly and quietly, often downwind to mask your scent. Use natural cover, wear subdued clothing, and avoid sudden movements. Never chase or harass animals; if they show signs of distress, back away.
Should I use a flash for wildlife photography?
Generally, using a direct flash for wildlife photography is discouraged as it can startle or even harm animals, especially nocturnal creatures. If supplemental lighting is necessary, consider low-power, diffused LED panels or natural light reflectors, used with extreme caution and only when it won't disturb the subject.
What are the best times of day to photograph wildlife?
The "golden hours" – early morning shortly after sunrise and late afternoon before sunset – offer the most favorable light. The soft, warm, directional light enhances textures and colors, and many animals are most active during these cooler parts of the day.